How to Make Instagram Reels: A Beginner's Complete Tutorial (2026)
Step-by-step tutorial on making Instagram Reels. Covers recording, editing, adding music and text, captions, cover photos, publishing settings, and 7 tips for maximum reach.
FlowShorts Team
Making an Instagram Reel takes under 5 minutes once you know the steps. The app does most of the work — recording, trimming, adding music, text, and effects are all built in. You don't need editing software, a fancy camera, or any experience.
This tutorial walks through every step from opening the camera to publishing your first Reel, plus the settings and techniques that separate Reels that get 200 views from Reels that get 200,000.
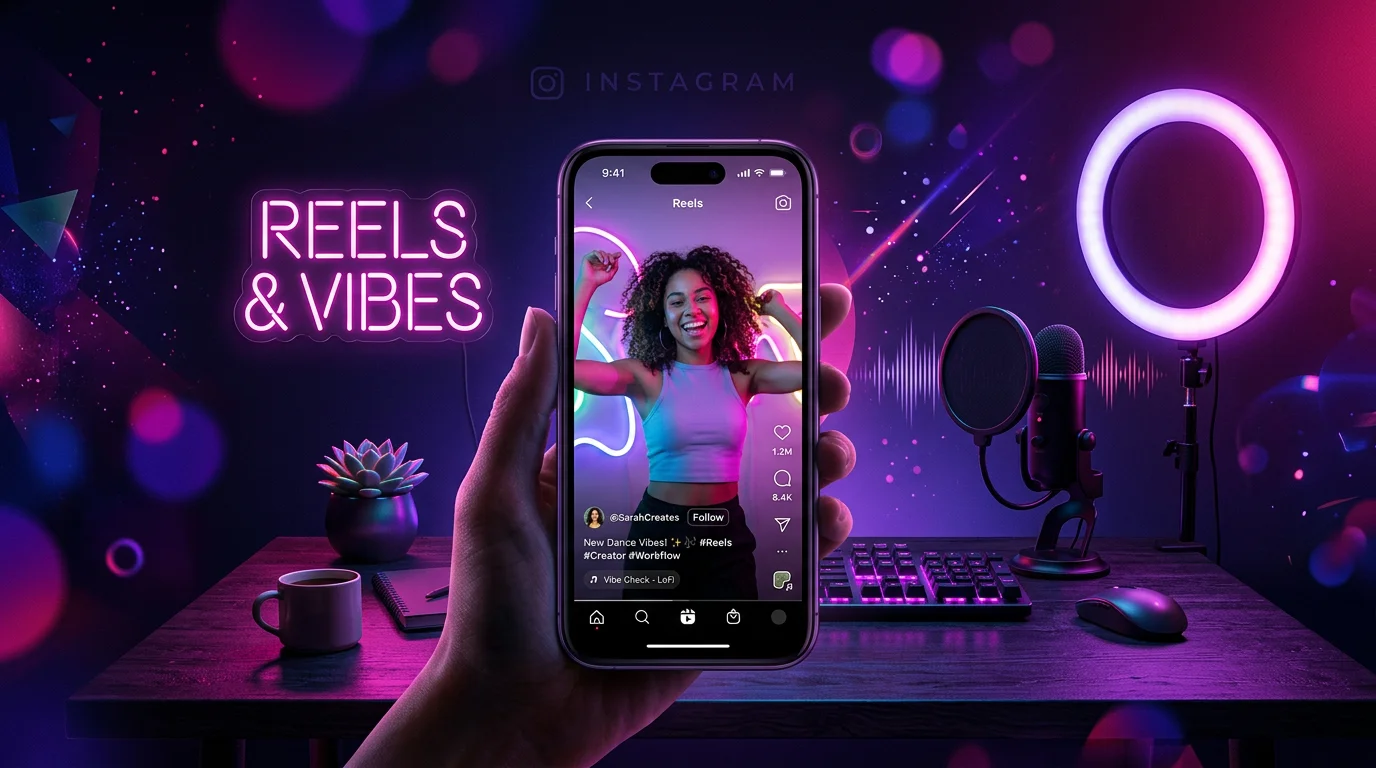
How to Create a Reel in Instagram (Step by Step)
Step 1: Open the Reels Camera
Three ways to get there:
- From the home screen: Tap the + icon at the bottom center → select Reel
- From the Reels tab: Tap the camera icon in the top-right
- From your profile: Tap + → Reel
You'll see the Reels camera with recording controls, audio selector, and creative tools on the left side.
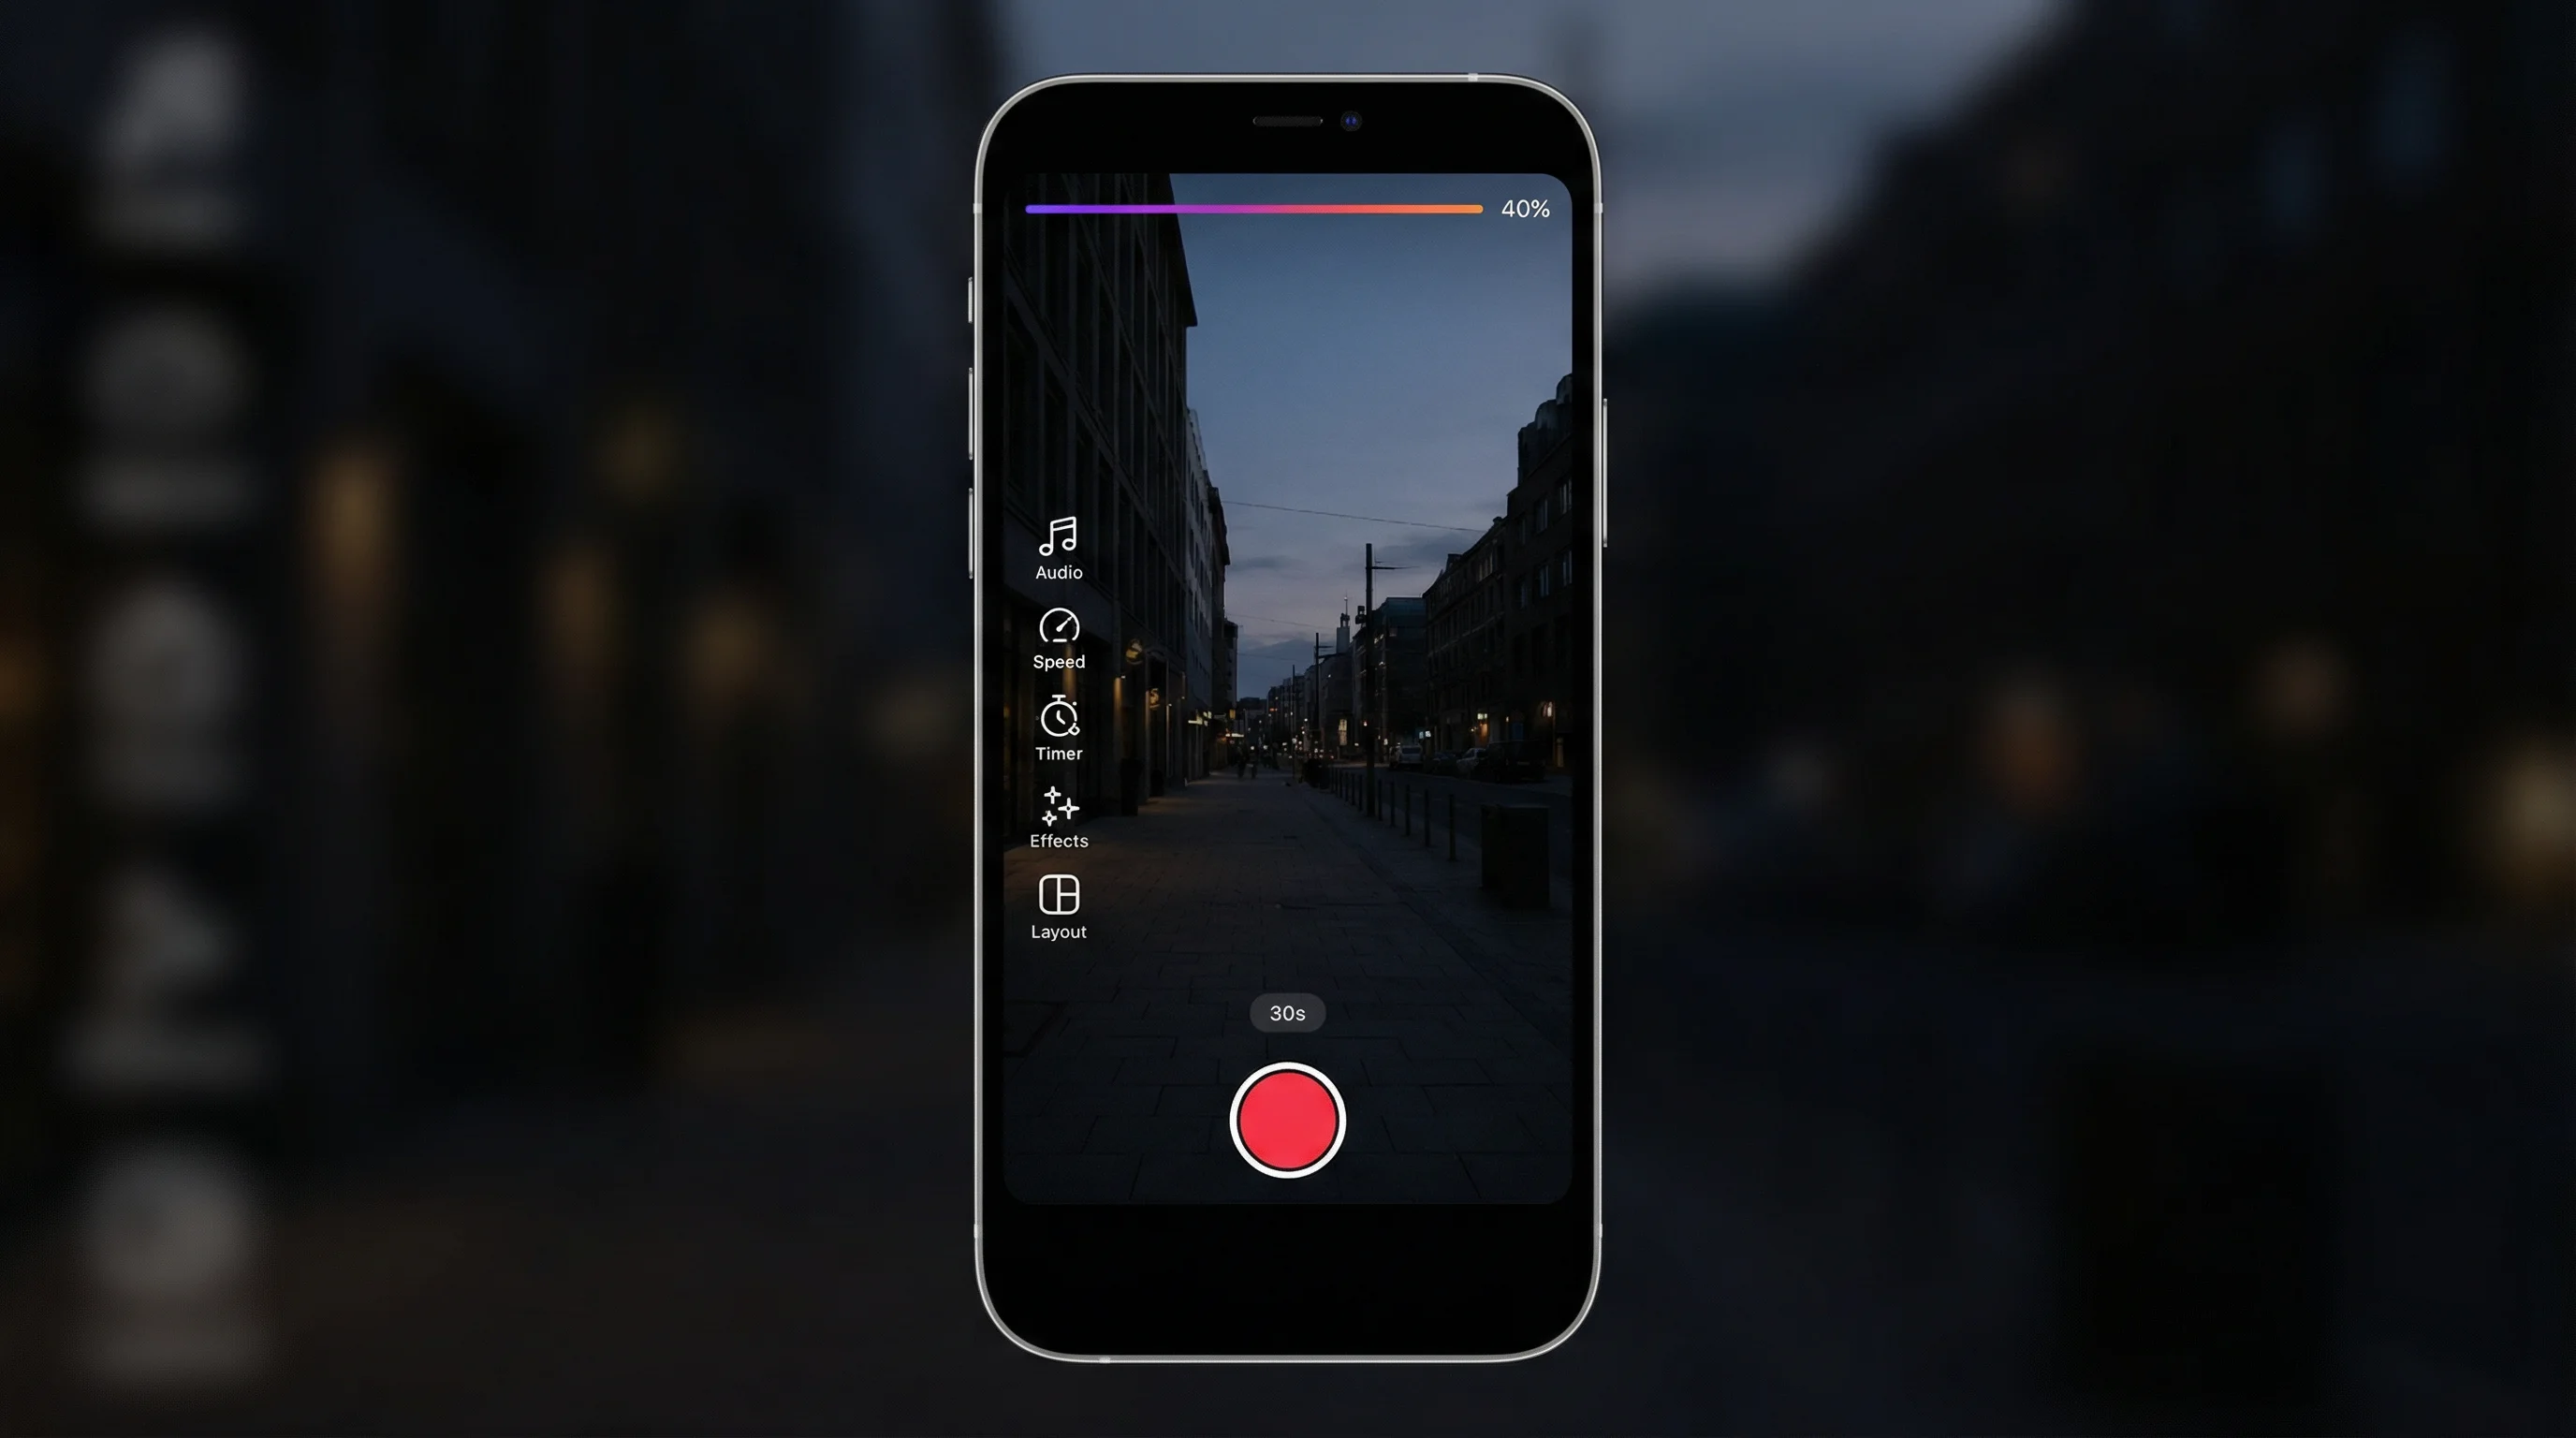
Step 2: Set Your Recording Options
Before you record, configure these settings on the left toolbar:
| Setting | What It Does | Recommendation |
|---|---|---|
| Audio | Add a song or sound before recording | Use trending audio for algorithmic boost |
| Length | Set max recording time (15s, 30s, 60s, 90s) | Start with 15-30s for higher completion rates |
| Speed | Slow-mo (0.3x, 0.5x) or fast (2x, 3x, 4x) | Normal (1x) for most content; slow-mo for reveals |
| Layout | Split-screen recording | Use for reaction or comparison content |
| Timer | Countdown before recording starts | Essential for hands-free recording (3s or 10s delay) |
| Dual | Record with front and back camera simultaneously | Good for tutorials showing your face + what you see |
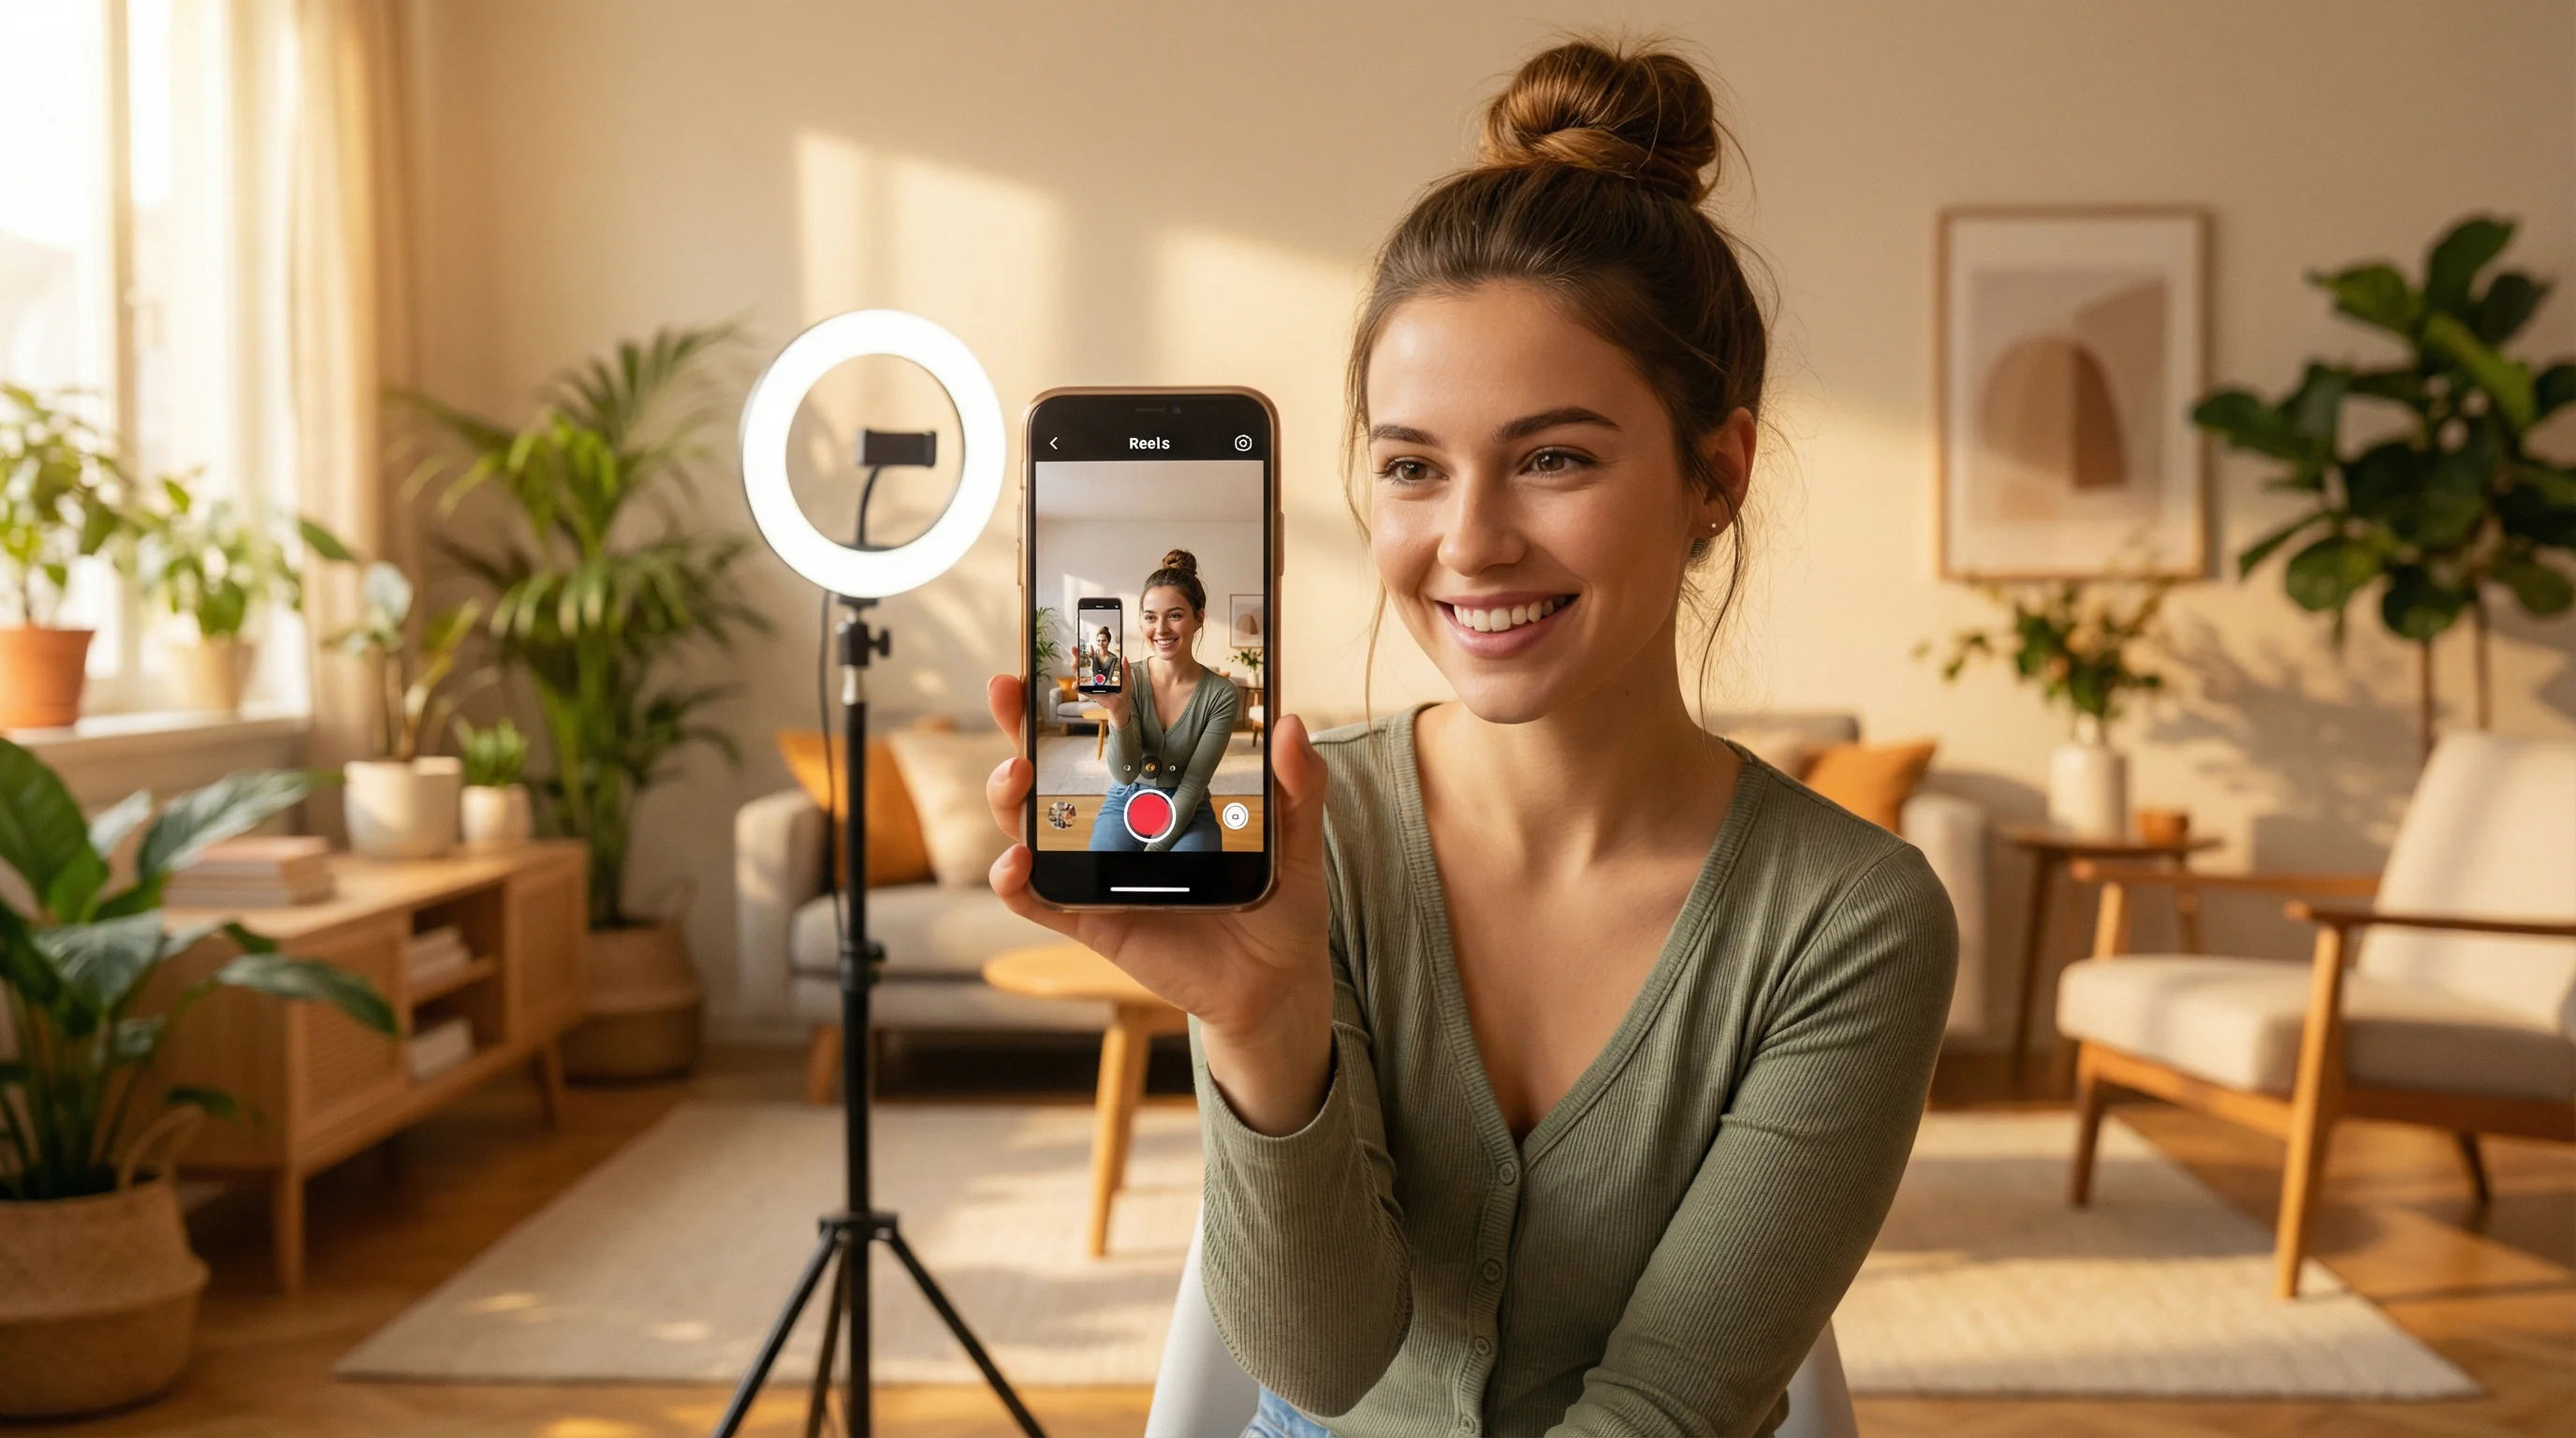
Step 3: Record Your Clips
Press and hold the record button to capture video. Release to pause. You can record multiple clips — Instagram stitches them together automatically. The progress bar at the top shows how much recording time you've used.
Tips for better recording:
- Hold your phone vertically at all times — Reels are 9:16. For exact specs, see our Instagram Reels size guide.
- Use the timer + tripod for hands-free shots
- Record more than you need — you can trim later, but you can't add footage you didn't capture
- Film in good lighting — face a window or use a ring light. Lighting quality affects perceived production value more than camera quality.
Step 4: Upload Existing Video (Alternative)
Don't want to record in-app? Tap the gallery icon in the bottom-left to upload pre-recorded video from your camera roll. You can select multiple clips and arrange them on the timeline.
This is how most creators work — record with a dedicated camera app or use AI-generated video, then upload to Reels for the editing, text, and music features.
How to Edit Your Reel
After recording (or uploading), you enter the editing screen. Here's what each tool does:
Trim and Arrange Clips
Tap Edit clips to see your timeline. Drag clip edges to trim, reorder clips by dragging, or delete clips you don't want. This is where you tighten pacing — cut dead air and remove anything that doesn't add value.
Add Audio / Music
Tap the music note icon to browse Instagram's music library. You can:
- Search for a specific song or artist
- Browse trending audio (recommended for reach)
- Select which part of the song plays with the slider
- Adjust music volume relative to your original audio
Trending audio gives your Reel algorithmic lift. Even if the music is just quiet background, using a trending track signals relevance to Instagram's recommendation system.
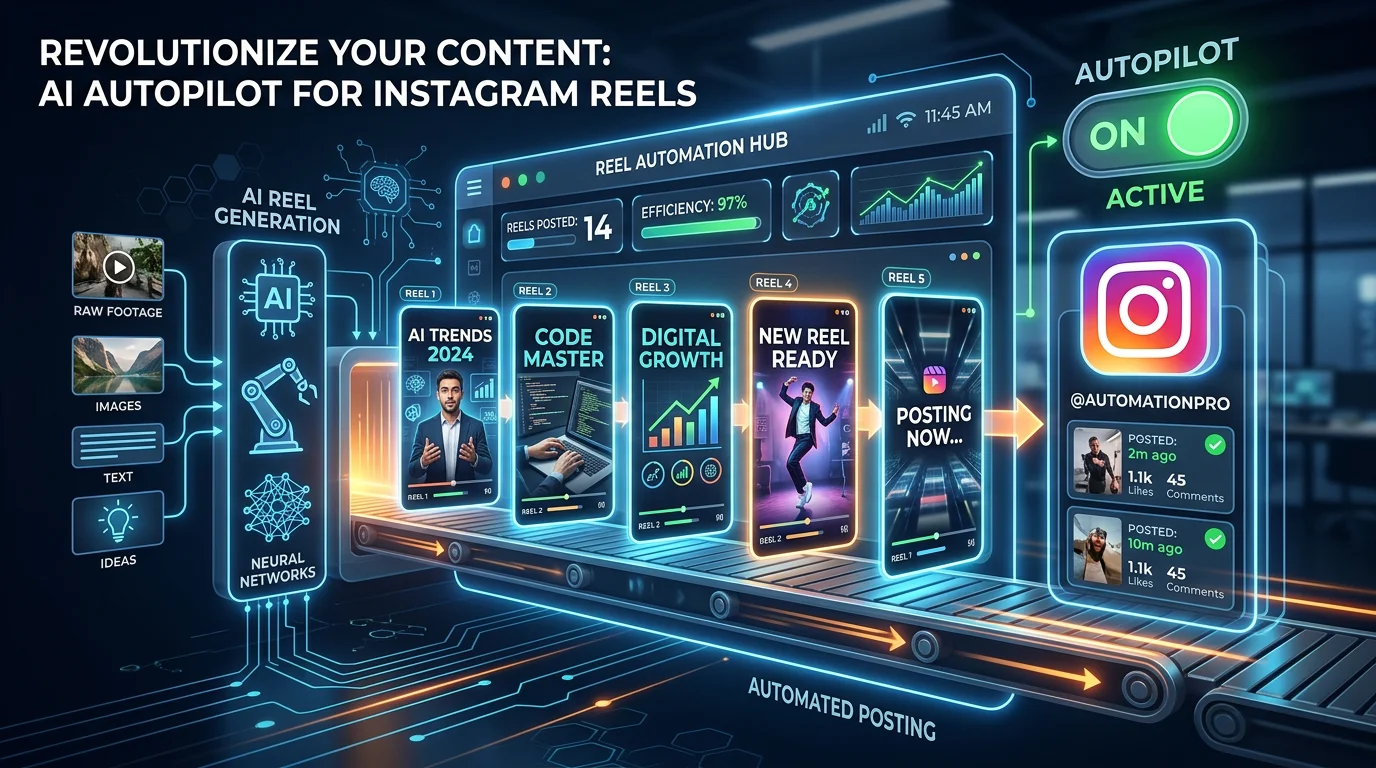
Create Faceless Videos on Autopilot
FlowShorts generates and posts AI videos to YouTube, TikTok & Instagram while you sleep.
Try FlowShorts Free →Add Text
Tap the Aa icon to add text. You can:
- Choose fonts, colors, backgrounds, and alignment
- Set timing — tap "Duration" to control when text appears and disappears
- Add multiple text elements that appear at different times
Use text for hooks ("Watch this"), key points, labels, and CTAs. Keep text in the center safe zone — avoid the top 10% and bottom 20% where Instagram overlays UI elements.
Add Stickers and Effects
The sticker tray includes:
- Polls, quizzes, questions — interactive stickers that drive engagement
- Captions — auto-generated subtitles (tap the "Captions" sticker)
- GIFs — animated overlays from GIPHY
- Location and mention tags
The auto-captions sticker is particularly valuable — it adds word-by-word subtitles that make your Reel accessible to the 85% of viewers watching without sound.
Add Voiceover
Tap the microphone icon to record voiceover on top of your video. This is essential for tutorial and educational content where you're narrating over footage or visuals.
Apply Filters and Effects
Browse AR effects and filters from the effects gallery. Use these sparingly — one cohesive filter applied to the entire Reel looks polished. Three different filters across clips looks chaotic.
How to Publish Your Reel
Step 5: Write Your Caption
On the share screen, write your caption. Best practices:
- First line is the hook — most of your caption is hidden behind "...more." The first line must compel the tap to expand.
- Keep it scannable — use line breaks, emojis as bullet points, and short sentences
- Include a CTA — "Save this for later," "Tag a friend who needs this," "Drop a comment if you agree"
- 3-5 relevant hashtags — not 30. Targeted hashtags outperform generic ones, per Hootsuite's research
For caption writing help, use our Instagram Caption Generator.
Step 6: Set Your Cover Image
Tap Edit cover to choose which frame represents your Reel on your profile grid. You can also upload a custom cover image. Since your profile grid shows a 1:1 center crop, design your cover with the key visual centered. See our Reels size guide for cover photo dimensions.
Step 7: Configure Settings and Publish
- Tag people — tag collaborators or featured accounts
- Add location — location tags increase local discovery
- Also share to Feed — keep this ON to maximize reach (Reels appear in both the Reels tab and your main Feed)
- Advanced settings — enable "Recommend on Facebook" for cross-platform distribution
Tap Share. Your Reel is live.
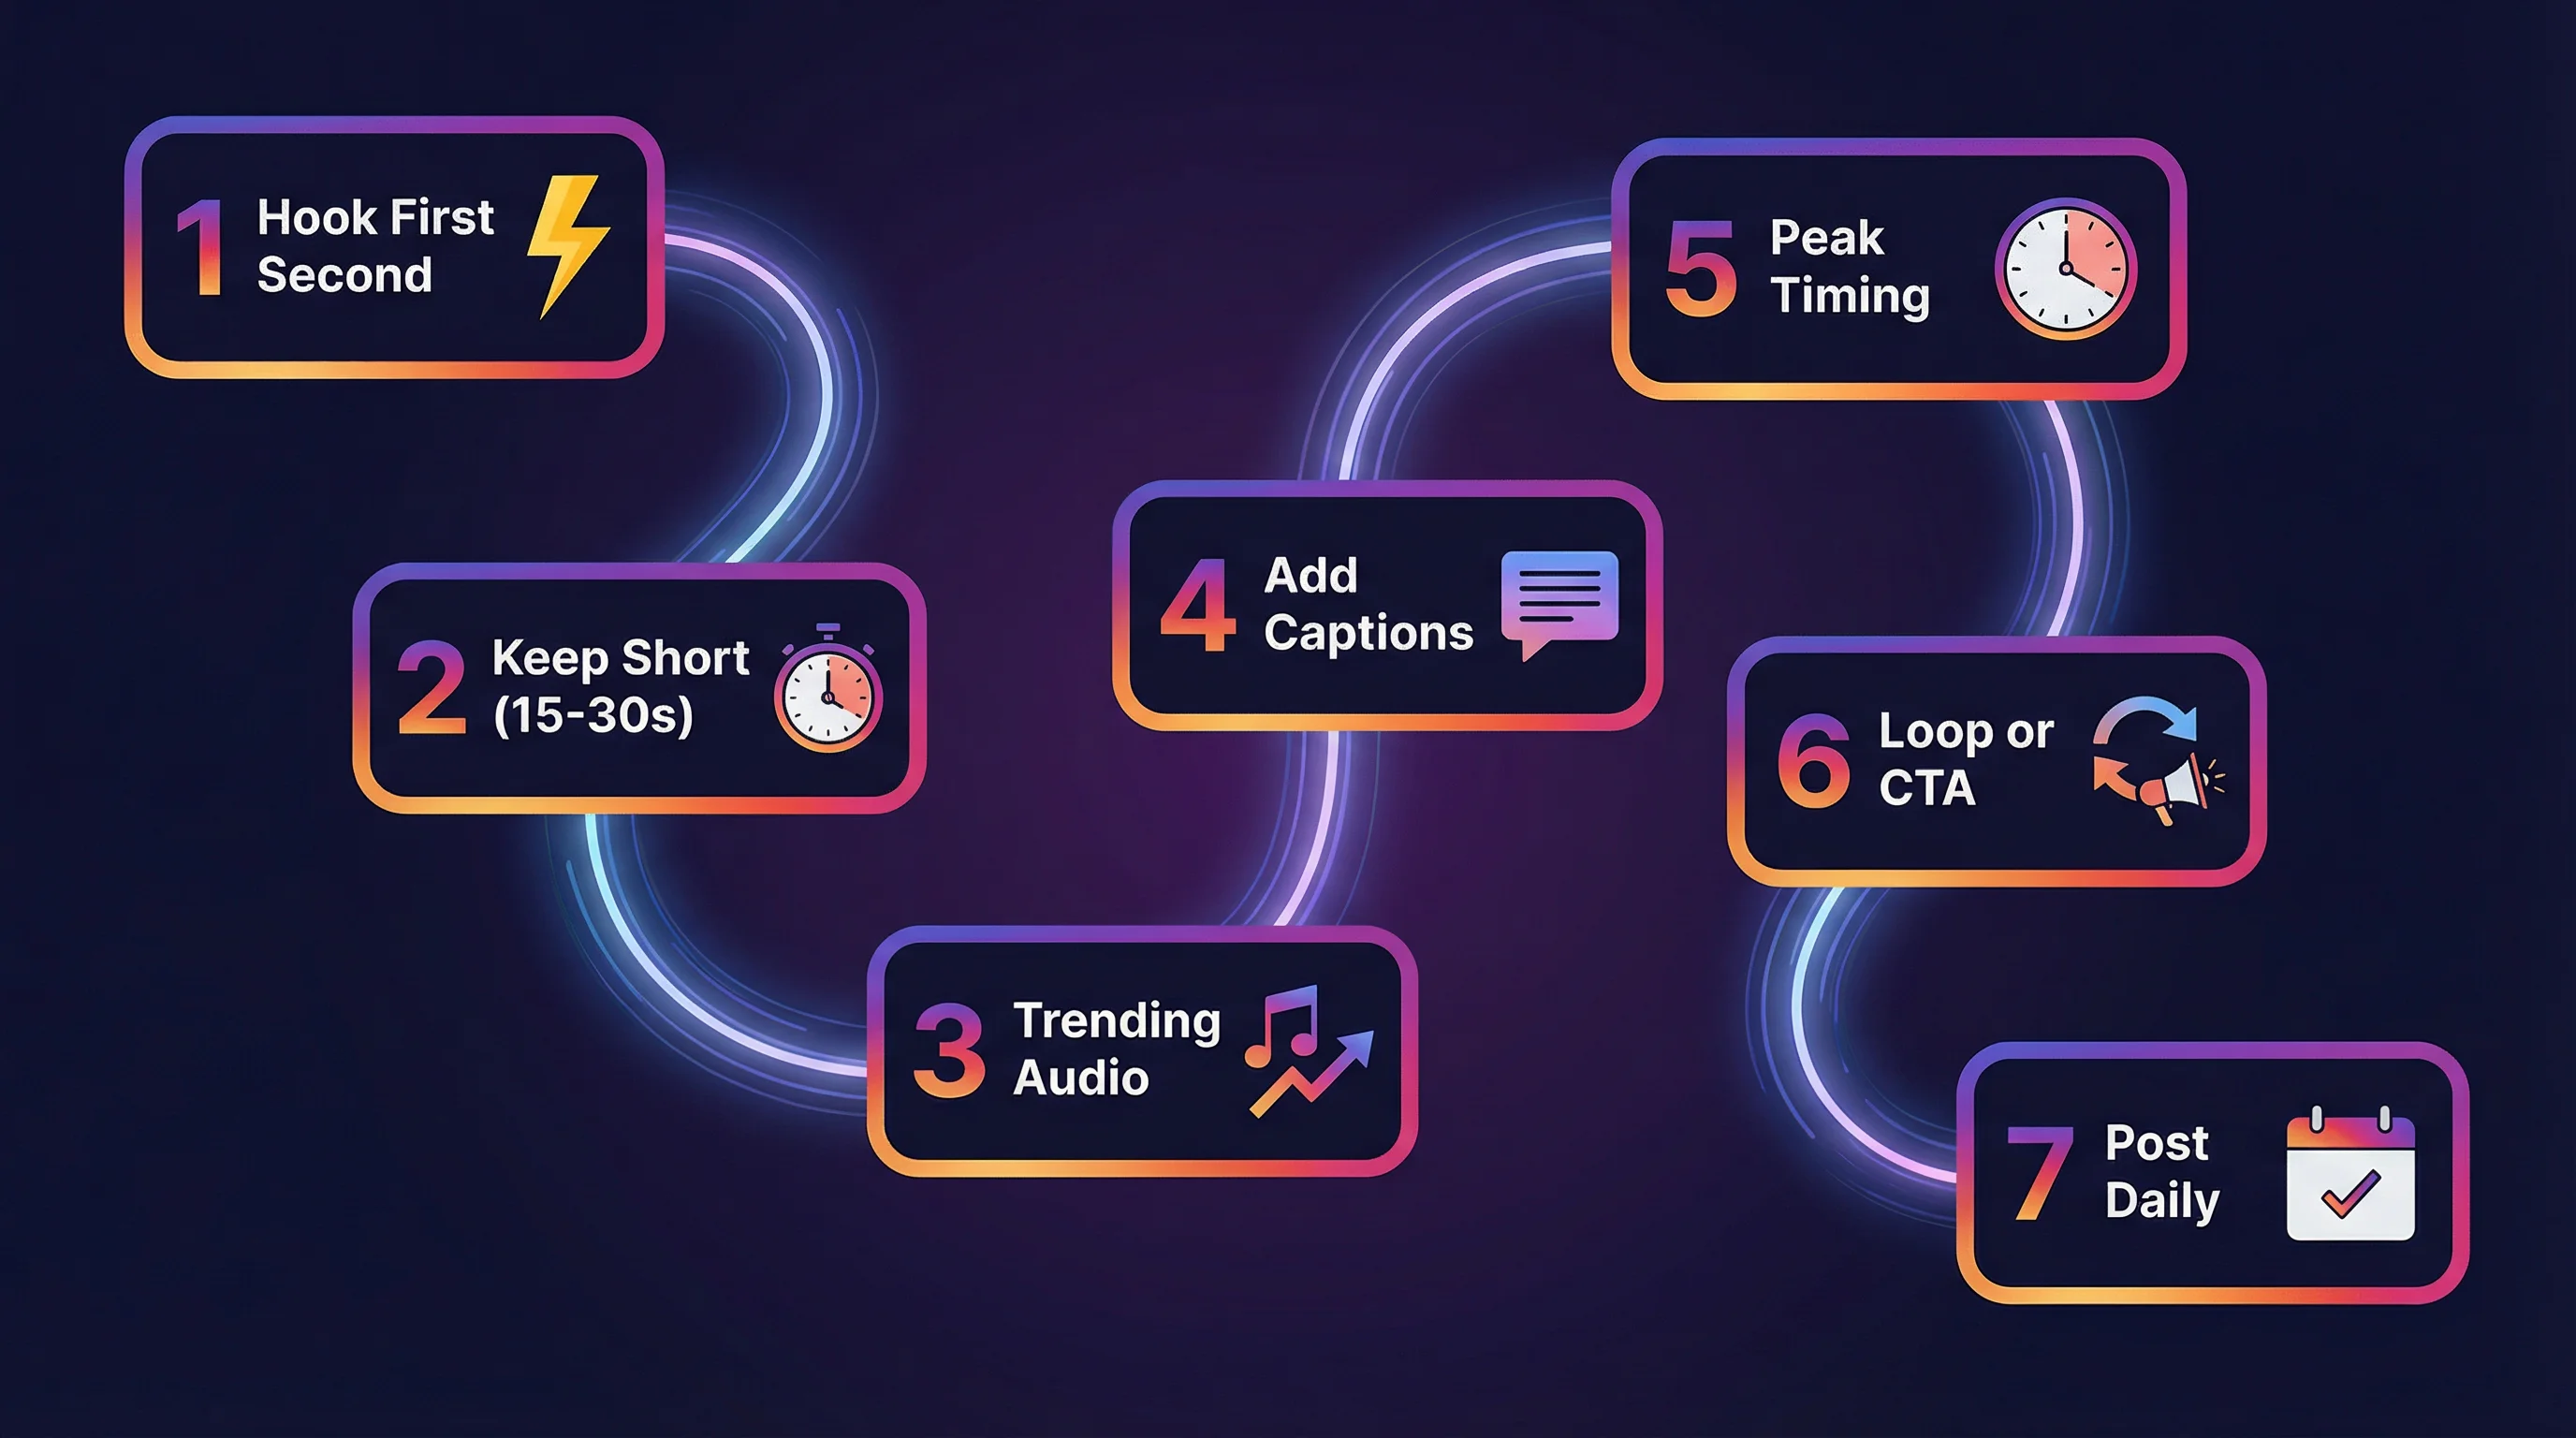
7 Tips for Reels That Get Views
- Hook in the first second. The opening frame determines whether viewers watch or swipe. Start with the most interesting, surprising, or visually striking moment. Use our Video Hook Generator for scroll-stopping openers.
- Keep it short. 15-30 second Reels have the highest completion rates. The algorithm rewards full watches and replays over raw view duration. Shorter = higher completion = more distribution.
- Use trending audio. Check Instagram's Reels tab for audio with a trending arrow icon. Using trending audio gets your Reel surfaced to more non-followers.
- Add captions. 85% of social video is watched on mute. Auto-captions via the Captions sticker make your content accessible to everyone — and hold attention longer.
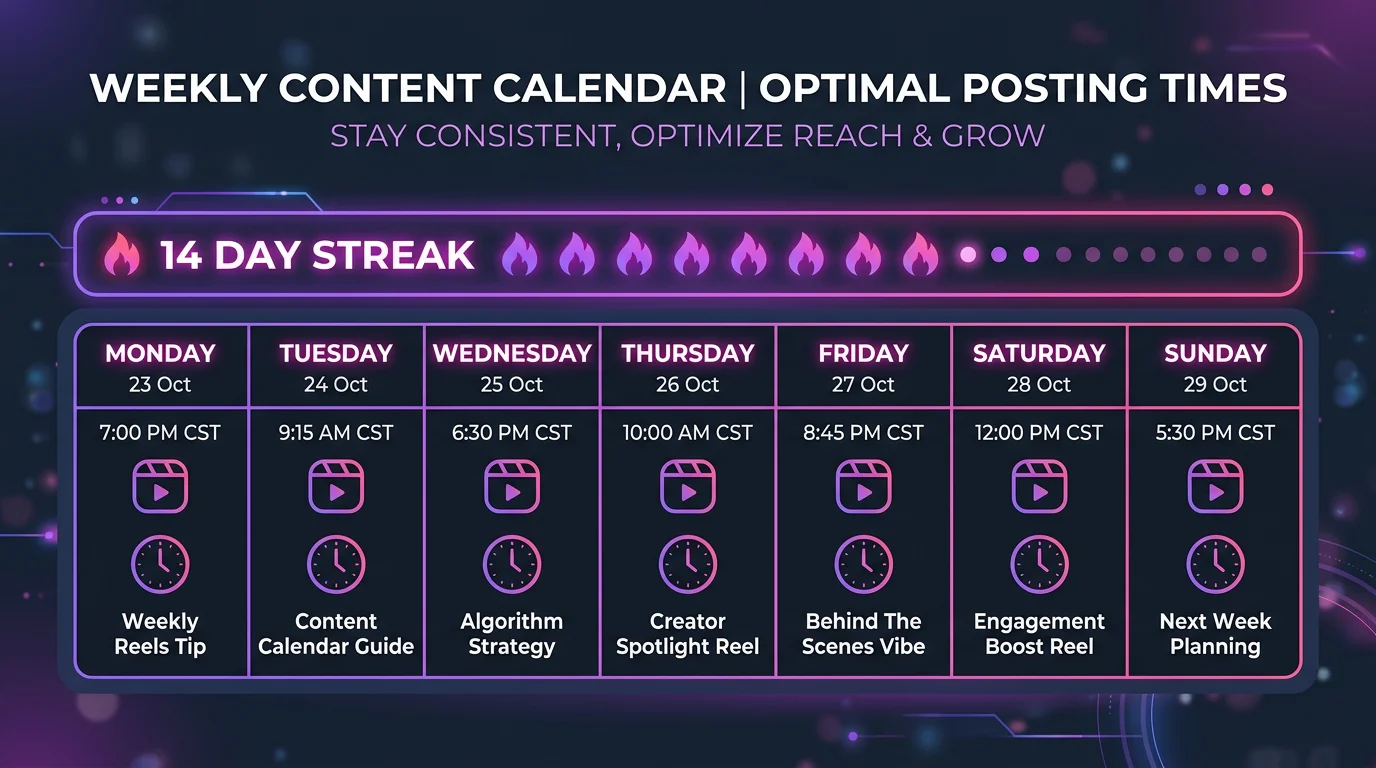
- Post at peak times. When your audience is active, your Reel gets faster initial engagement — which tells the algorithm to push it wider. See our best time to post Reels guide for data-backed timing.
- End with a loop or CTA. A Reel that loops seamlessly gets counted as multiple views. A Reel with a clear CTA ("Follow for more") converts viewers into followers.
- Post consistently. The algorithm favors active accounts. Posting 4-7 Reels per week builds momentum. For daily posting without the grind, FlowShorts auto-posts Reels on a schedule.
Creating Reels Without Filming
Create Faceless Videos on Autopilot
FlowShorts generates and posts AI videos to YouTube, TikTok & Instagram while you sleep.
Try FlowShorts Free →You don't need to record a single clip to make Reels. Three approaches:
Template-Based (Canva, CapCut)
Use pre-made Reel templates — swap in your text, images, and branding. Fast but limited to the template's structure.
Photo-to-Video (Slideshow Reels)
Upload a series of photos — Instagram auto-creates a slideshow Reel with transitions. Good for carousels-as-Reels, product showcases, and photo dumps.
AI-Generated (Fully Automated)
FlowShorts generates complete Reels without any filming — AI script, AI images, voiceover, animated captions, transitions, and background music. The finished Reel auto-posts to Instagram (plus YouTube Shorts and TikTok). You pick a niche and schedule; the system handles everything.
This is how many faceless content creators produce daily Reels without spending time on production. For content ideas, explore our Instagram Reels ideas by niche.
Instagram Reels vs. TikTok vs. YouTube Shorts
| Feature | Instagram Reels | TikTok | YouTube Shorts |
|---|---|---|---|
| Max length | 3 minutes | 10 minutes | 3 minutes |
| Resolution | 1080×1920 | 1080×1920 | 1080×1920 |
| Editing tools | Good (text, effects, music, captions) | Best (most advanced native editor) | Basic |
| Discovery reach | Reels tab + Explore | For You page (highest reach) | Shorts shelf |
| Monetization | Bonuses (limited) | Creator Rewards ($0.50-$1/1K views) | Shorts ad revenue ($0.04-$0.08/1K) |
| Best for | Visual brands, lifestyle, polished content | Viral trends, raw content, discovery | Subscriber growth, long-form funnel |
The smart strategy: create once, post to all three. The same vertical video works on every platform with minor adjustments. For automated multi-platform posting, FlowShorts handles YouTube Shorts, TikTok, and Instagram Reels from one pipeline.
Frequently Asked Questions
How do I make a Reel on Instagram?
Tap the + icon → select Reel → record clips or upload from gallery → add music, text, stickers, and effects → write a caption with hashtags → choose a cover image → tap Share. The whole process takes 3-5 minutes.
How long should an Instagram Reel be?
15-30 seconds for maximum reach. Shorter Reels have higher completion rates, and the algorithm rewards full watches. For educational content, 30-60 seconds works. Maximum length is 3 minutes, but longer Reels typically get lower reach unless retention is exceptionally high. See our Reels length guide for details.
Can I make Reels without showing my face?
Yes. Many popular Reels use voiceover + visuals, text-only slides, product footage, stock clips, or AI-generated content without anyone appearing on camera. FlowShorts creates faceless Reels automatically using AI scripts, images, and voiceover.
Do I need to use trending audio?
Not required, but strongly recommended. Trending audio signals to Instagram's algorithm that your content is timely and relevant, which increases distribution to non-followers. Even using trending audio as quiet background behind your voiceover helps.
How do I add captions to my Reel?
After recording, tap the sticker icon → select Captions. Instagram auto-generates word-by-word subtitles from your audio. You can edit the text, change the font and style, and reposition the captions on screen.
How many Reels should I post per week?
4-7 per week is the recommended frequency for growth. Daily posting builds algorithmic momentum and keeps your content circulating. If daily is unsustainable manually, automate with FlowShorts.
Related Guides
- Instagram Reels Size & Dimensions Guide
- Instagram Reels Length Limit Guide
- Best Time to Post Reels
- Instagram Carousel Posts Guide
- How to Reset Your Instagram Algorithm
- 50 Video Editing Tips
Make Reels Without the Work
FlowShorts generates complete Instagram Reels automatically — AI scripts, images, voiceover, captions, music — and auto-posts daily. No filming, no editing, no uploading.
Related: Reels Algorithm: How to Get More Reach
Related: How to Edit Short-Form Videos for Reels
Need Reels ideas? Browse Instagram Reels Ideas by Niche — 30+ niches with hooks and concepts.