How to Screen Record on Windows: 7 Best Free Methods (2026)
7 ways to screen record on Windows for free. Step-by-step guides for Xbox Game Bar, Snipping Tool, OBS Studio, ShareX, PowerPoint, browser extensions, and Clipchamp.
FlowShorts Team
Need to screen record on Windows? You don't need to download anything. Windows 10 and 11 both have built-in screen recording tools that work right now. For more control — system audio, webcam overlay, specific region capture — free third-party tools fill every gap.
This guide covers 7 methods from simplest to most powerful, with step-by-step instructions for each.
Method 1: Xbox Game Bar (Built Into Windows 10 & 11)
The fastest way to screen record on Windows. It's pre-installed, requires zero setup, and works on any app.
How to Use Xbox Game Bar
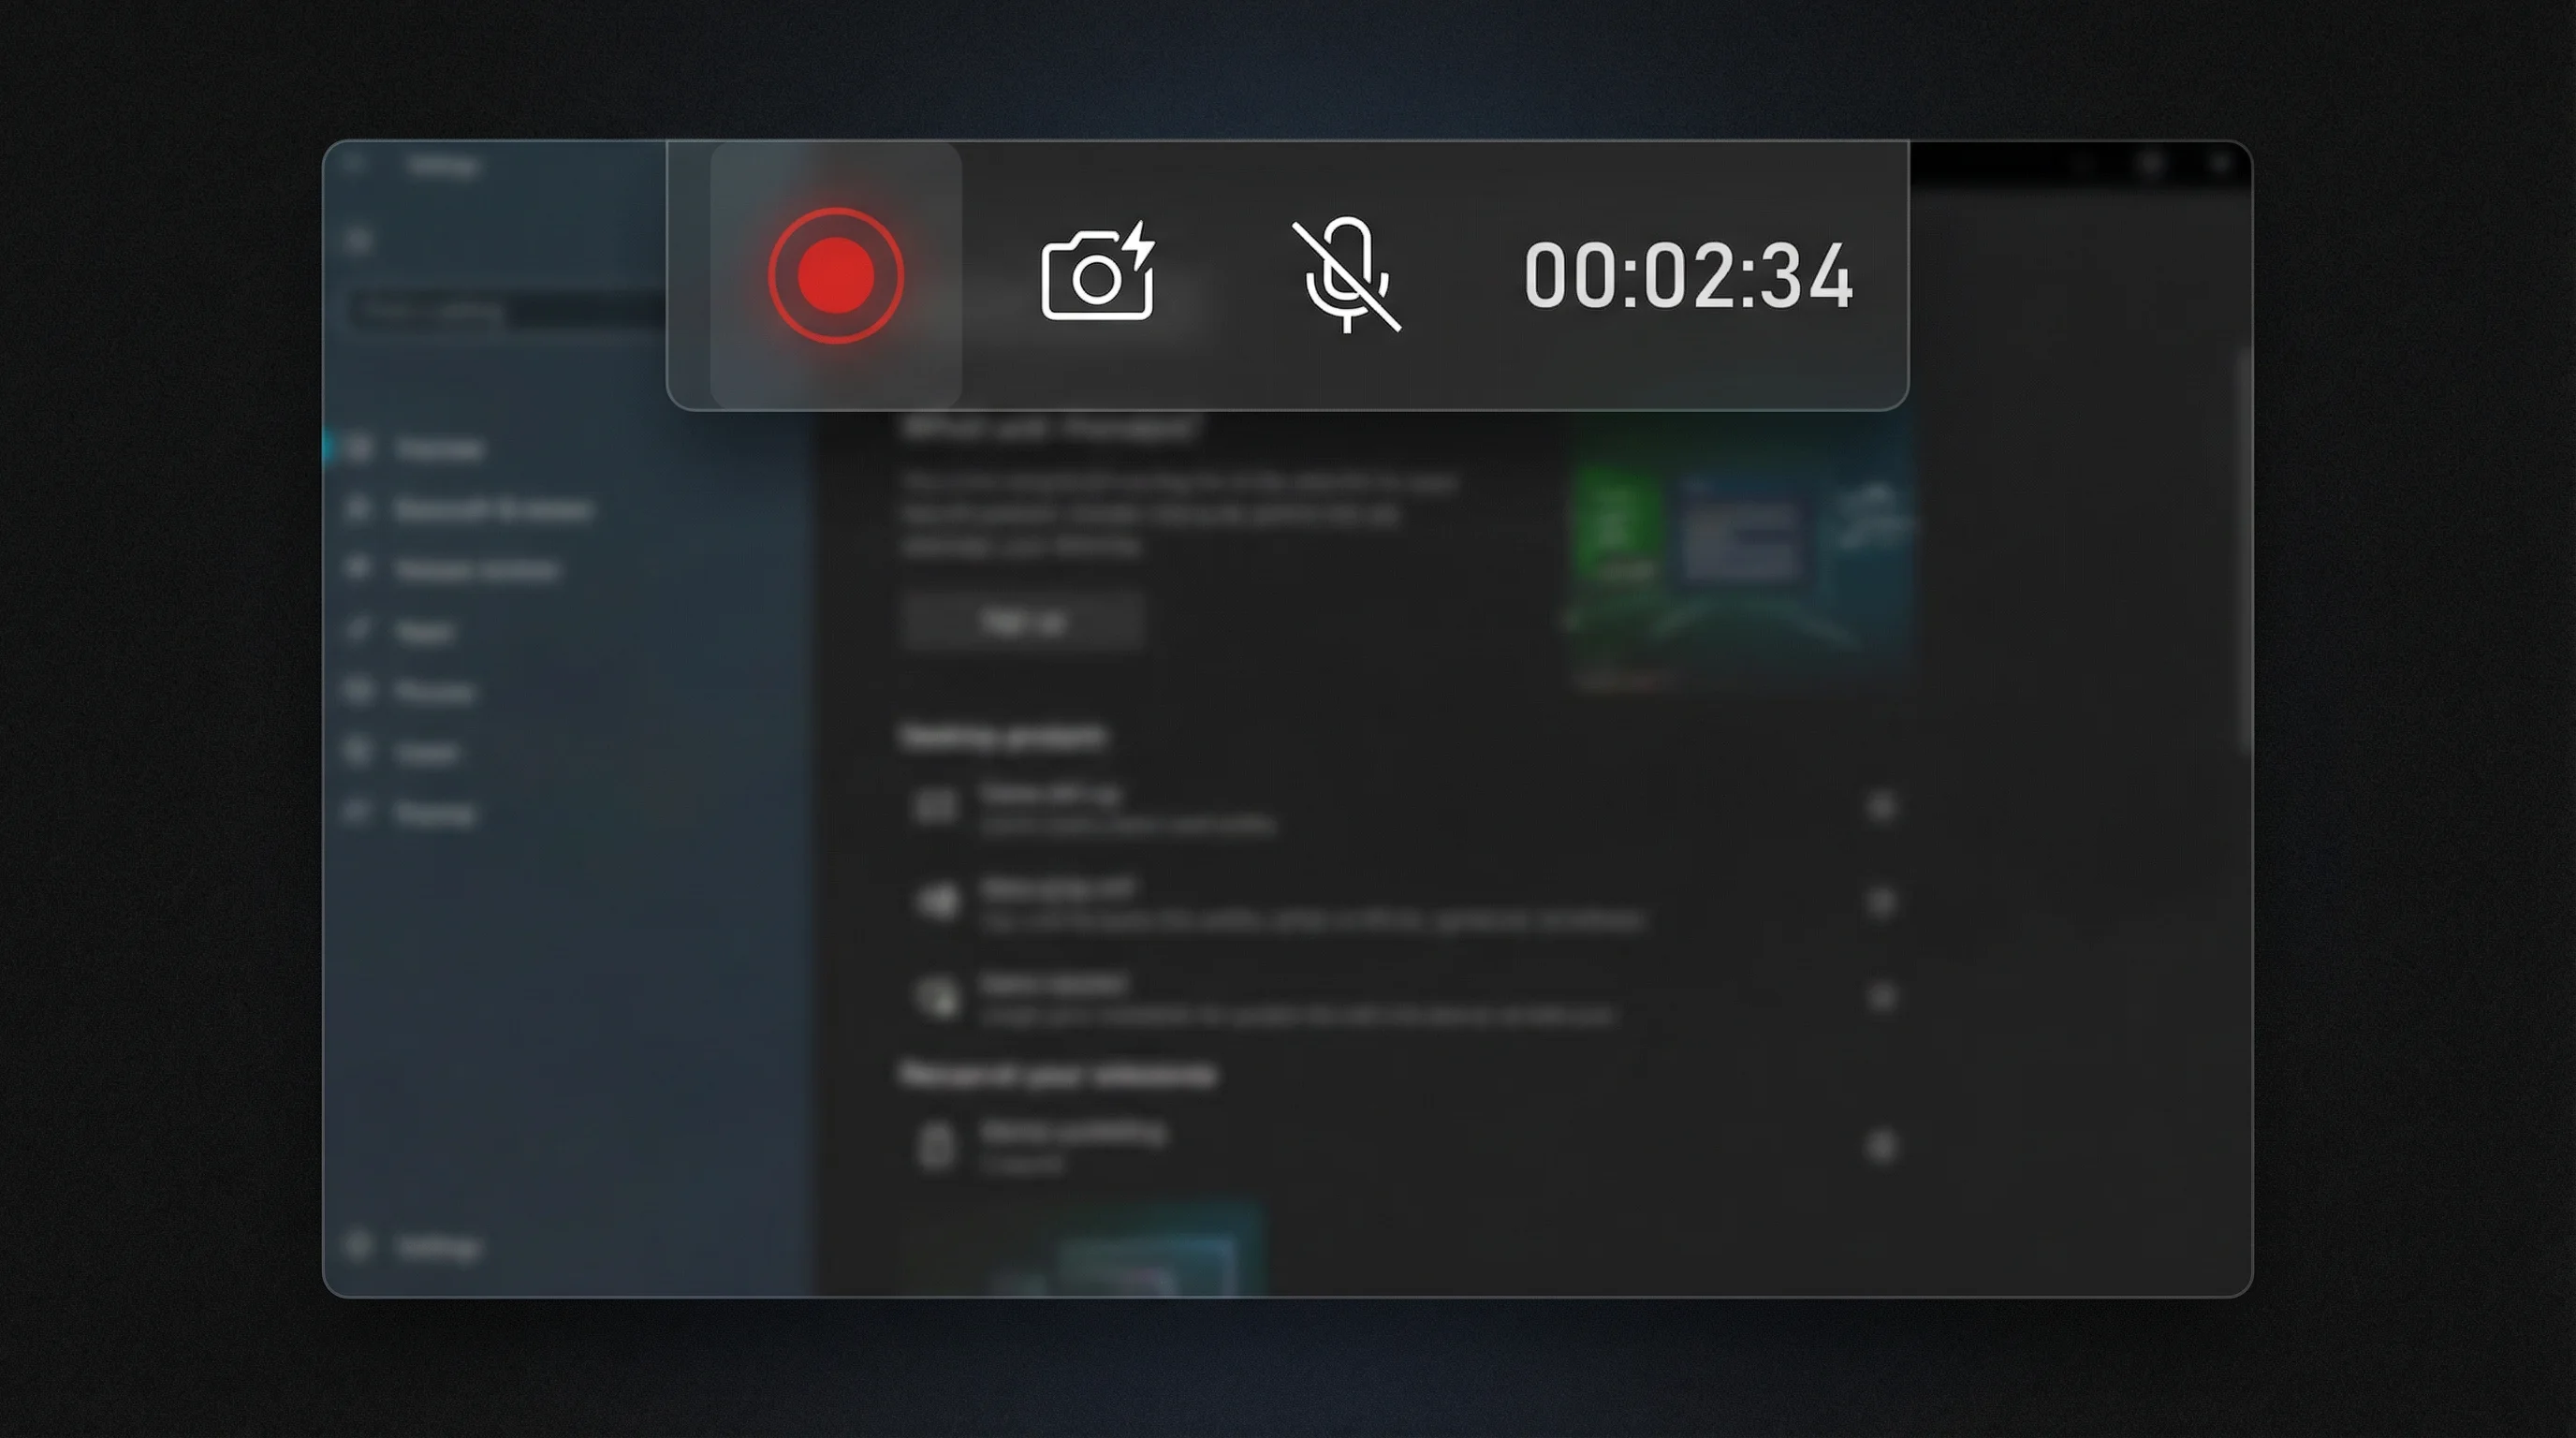
- Press Win + G to open the Game Bar overlay
- Click the Capture widget (camera icon). If you don't see it, click the widget menu (three lines) and enable "Capture"
- Click the Record button (circle icon) or press Win + Alt + R to start recording
- A small recording indicator appears in the corner. Do your thing.
- Press Win + Alt + R again to stop recording
- Your recording is saved to
Videos > Capturesfolder as an MP4 file
Xbox Game Bar Settings
| Setting | Default | Recommended |
|---|---|---|
| Video quality | Standard | High (for tutorials and content) |
| Audio | Game/app audio on, mic off | Turn mic on if narrating |
| Frame rate | 30 fps | 30 fps (sufficient for most content) |
| Max recording length | 2 hours | Adjust in Settings > Gaming > Captures |
To change settings: Settings > Gaming > Captures (Windows 11) or Settings > Gaming > Xbox Game Bar (Windows 10).
Limitations
- Cannot record the desktop itself or File Explorer — only works inside apps
- Records the entire app window (no region selection)
- No webcam overlay built in
- No annotation or drawing tools during recording
Method 2: Snipping Tool (Windows 11 Only)
Windows 11's updated Snipping Tool added screen recording in 2023. It's simpler than Game Bar and can record any part of the screen — including the desktop.
How to Use Snipping Tool Screen Record
- Open Snipping Tool (search "Snipping Tool" in Start menu)
- Click the video camera icon at the top to switch from screenshot to screen recording mode
- Click New
- Draw a rectangle around the area you want to record
- Click Start — recording begins after a 3-second countdown
- Click Stop when finished
- Save the recording (MP4 format)
Advantages Over Game Bar
- Records any region of the screen (not just full app windows)
- Works on the desktop and File Explorer
- Simpler interface — no gaming overlay
Limitations
- Windows 11 only (not available on Windows 10)
- No system audio recording (records mic only)
- No webcam overlay or annotations
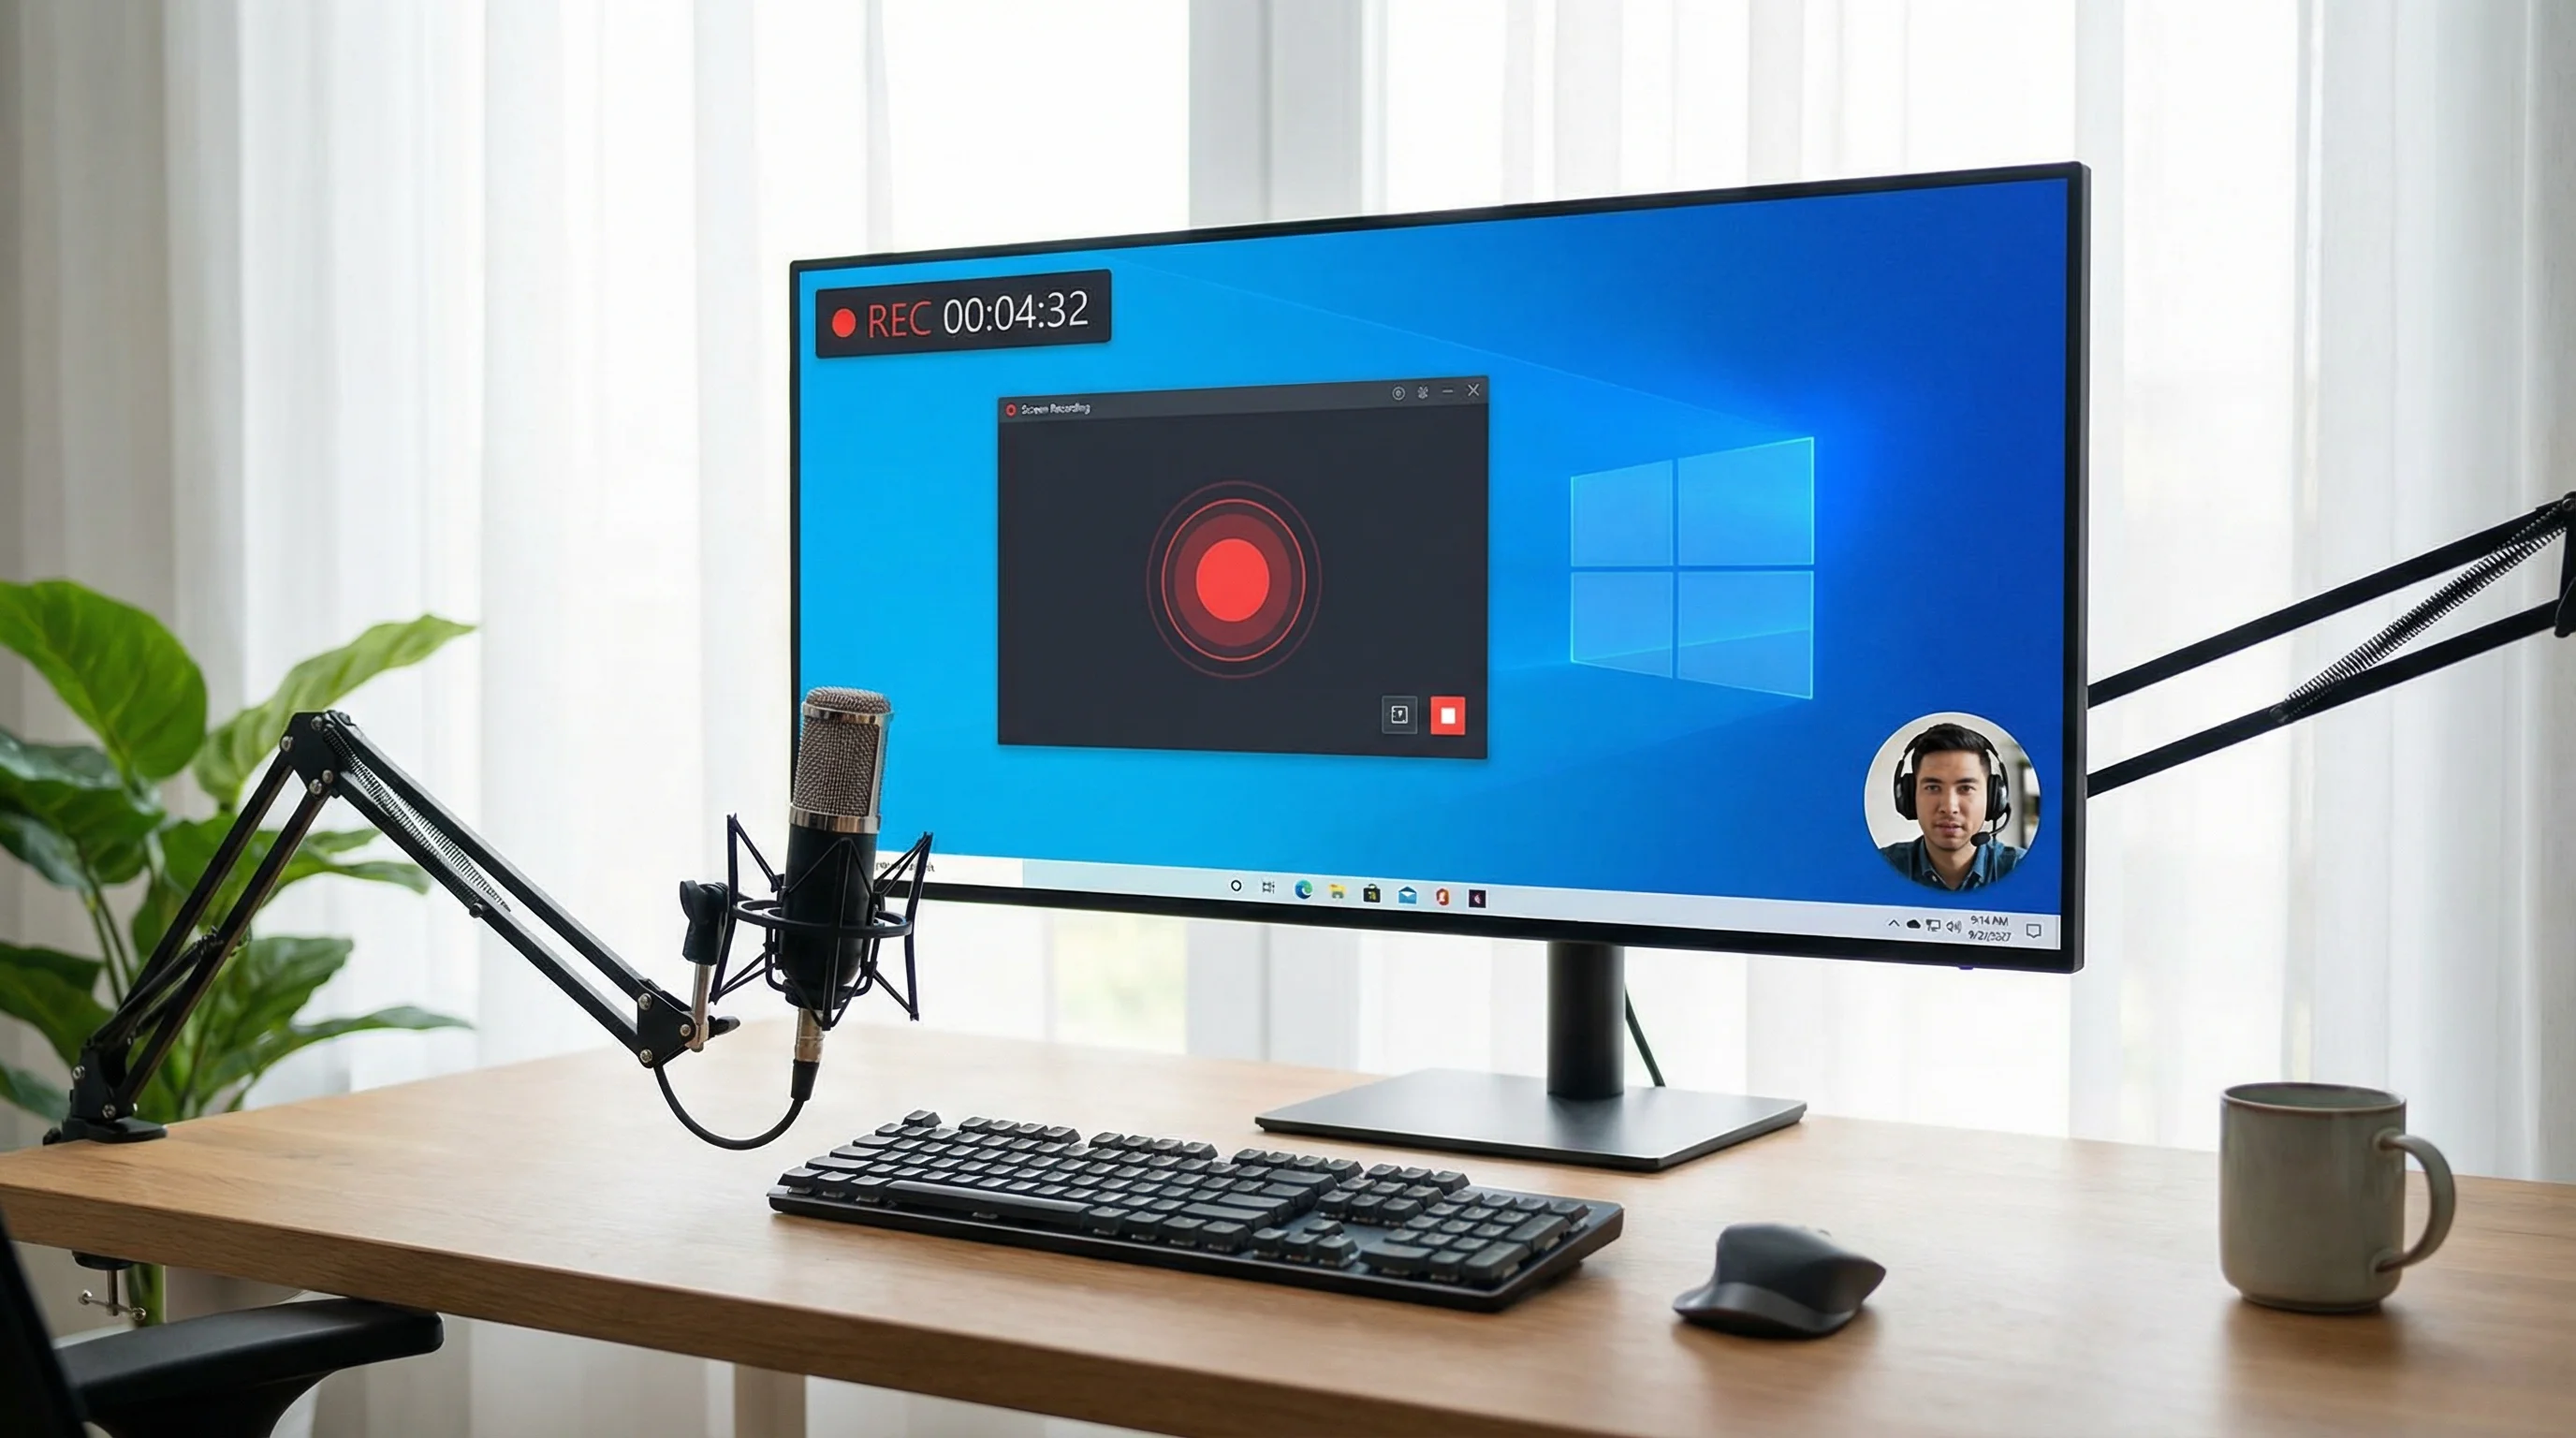
Method 3: OBS Studio (Free, Most Powerful)
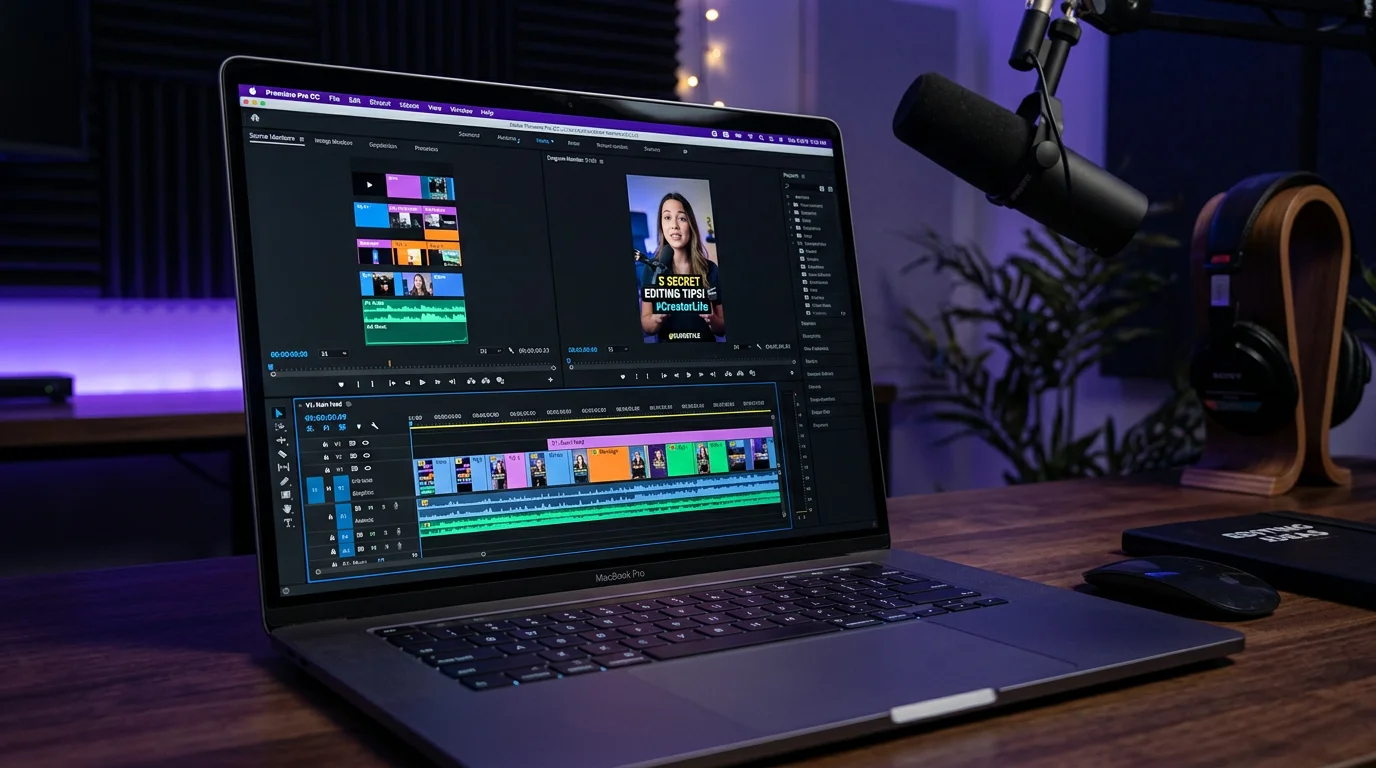
OBS Studio is the industry-standard free screen recorder. It handles everything: multiple sources, webcam overlay, system audio, mic audio, region capture, streaming, and recording simultaneously. If you're serious about creating screen recording content, OBS is the tool.
Quick Setup for Screen Recording
Create Faceless Videos on Autopilot
FlowShorts generates and posts AI videos to YouTube, TikTok & Instagram while you sleep.
Try FlowShorts Free →- Download and install OBS from obsproject.com
- On first launch, run the Auto-Configuration Wizard and select "Optimize just for recording"
- In the Sources panel, click + and add Display Capture (full screen) or Window Capture (specific app)
- To add a webcam: click + > Video Capture Device > select your camera. Resize and position the overlay.
- Click Start Recording
- Click Stop Recording when done. Files save to your Videos folder by default.
Recommended OBS Settings for Content Creators
| Setting | Recommended Value | Where to Set |
|---|---|---|
| Output resolution | 1920×1080 (or 1080×1920 for vertical) | Settings > Video |
| FPS | 30 | Settings > Video |
| Encoder | NVENC (if NVIDIA GPU) or x264 | Settings > Output > Recording |
| Recording format | MKV (then remux to MP4 after) | Settings > Output > Recording |
| Bitrate | 10,000-20,000 Kbps | Settings > Output > Recording |
Pro tip: Record in MKV format, not MP4. If OBS crashes or your PC loses power during recording, MKV files are recoverable. MP4 files get corrupted. After recording, go to File > Remux Recordings to convert MKV to MP4.
Method 4: ShareX (Free, Feature-Rich)
ShareX is a free, open-source tool that does screen recording, screenshots, GIF capture, annotation, and auto-upload — all in one. It's more lightweight than OBS but more capable than Game Bar.
How to Record With ShareX
- Download from getsharex.com
- Right-click the ShareX icon in your system tray
- Select Capture > Screen recording (for video) or Screen recording (GIF)
- Select the region to record
- Click Stop when done
ShareX can automatically upload recordings to cloud storage, create GIFs, add annotations, and set custom hotkeys. It's the power user's choice for quick captures.
Method 5: PowerPoint (Already Installed)
Surprisingly, Microsoft PowerPoint has a built-in screen recorder. If you have Office installed, you already have this.
- Open PowerPoint and create a blank presentation
- Go to Insert > Screen Recording
- Select the area to record
- Click Record (includes audio by default)
- Press Win + Shift + Q to stop
- The recording is inserted into the slide. Right-click it and select Save Media As to export as MP4.
It's basic but effective for quick tutorials or demos when you don't want to install additional software.
Method 6: Browser Extensions (For Web-Only Recording)
If you only need to record browser content (web apps, online tools, websites), browser extensions are the simplest option:
- Loom: Record screen + webcam + mic. Auto-uploads to cloud. Free tier: 25 videos, 5 min each. Best for quick walkthroughs and async communication.
- Screencastify: Chrome extension. Records browser tab, desktop, or webcam. Free tier: unlimited recordings up to 30 min.
- Awesome Screenshot & Recorder: Screenshot + recording in one extension. Records tab or full screen.
Method 7: Clipchamp (Free Microsoft Editor With Recording)
Clipchamp is Microsoft's free video editor (pre-installed on Windows 11, downloadable on Windows 10). It includes a screen recorder and an editor in one tool — record your screen and immediately edit the footage without switching apps.
- Open Clipchamp
- Click Record & create > Screen
- Choose what to share: entire screen, specific window, or browser tab
- Record, then click Stop sharing
- The recording lands directly in Clipchamp's editor timeline
- Trim, add text, transitions, and export
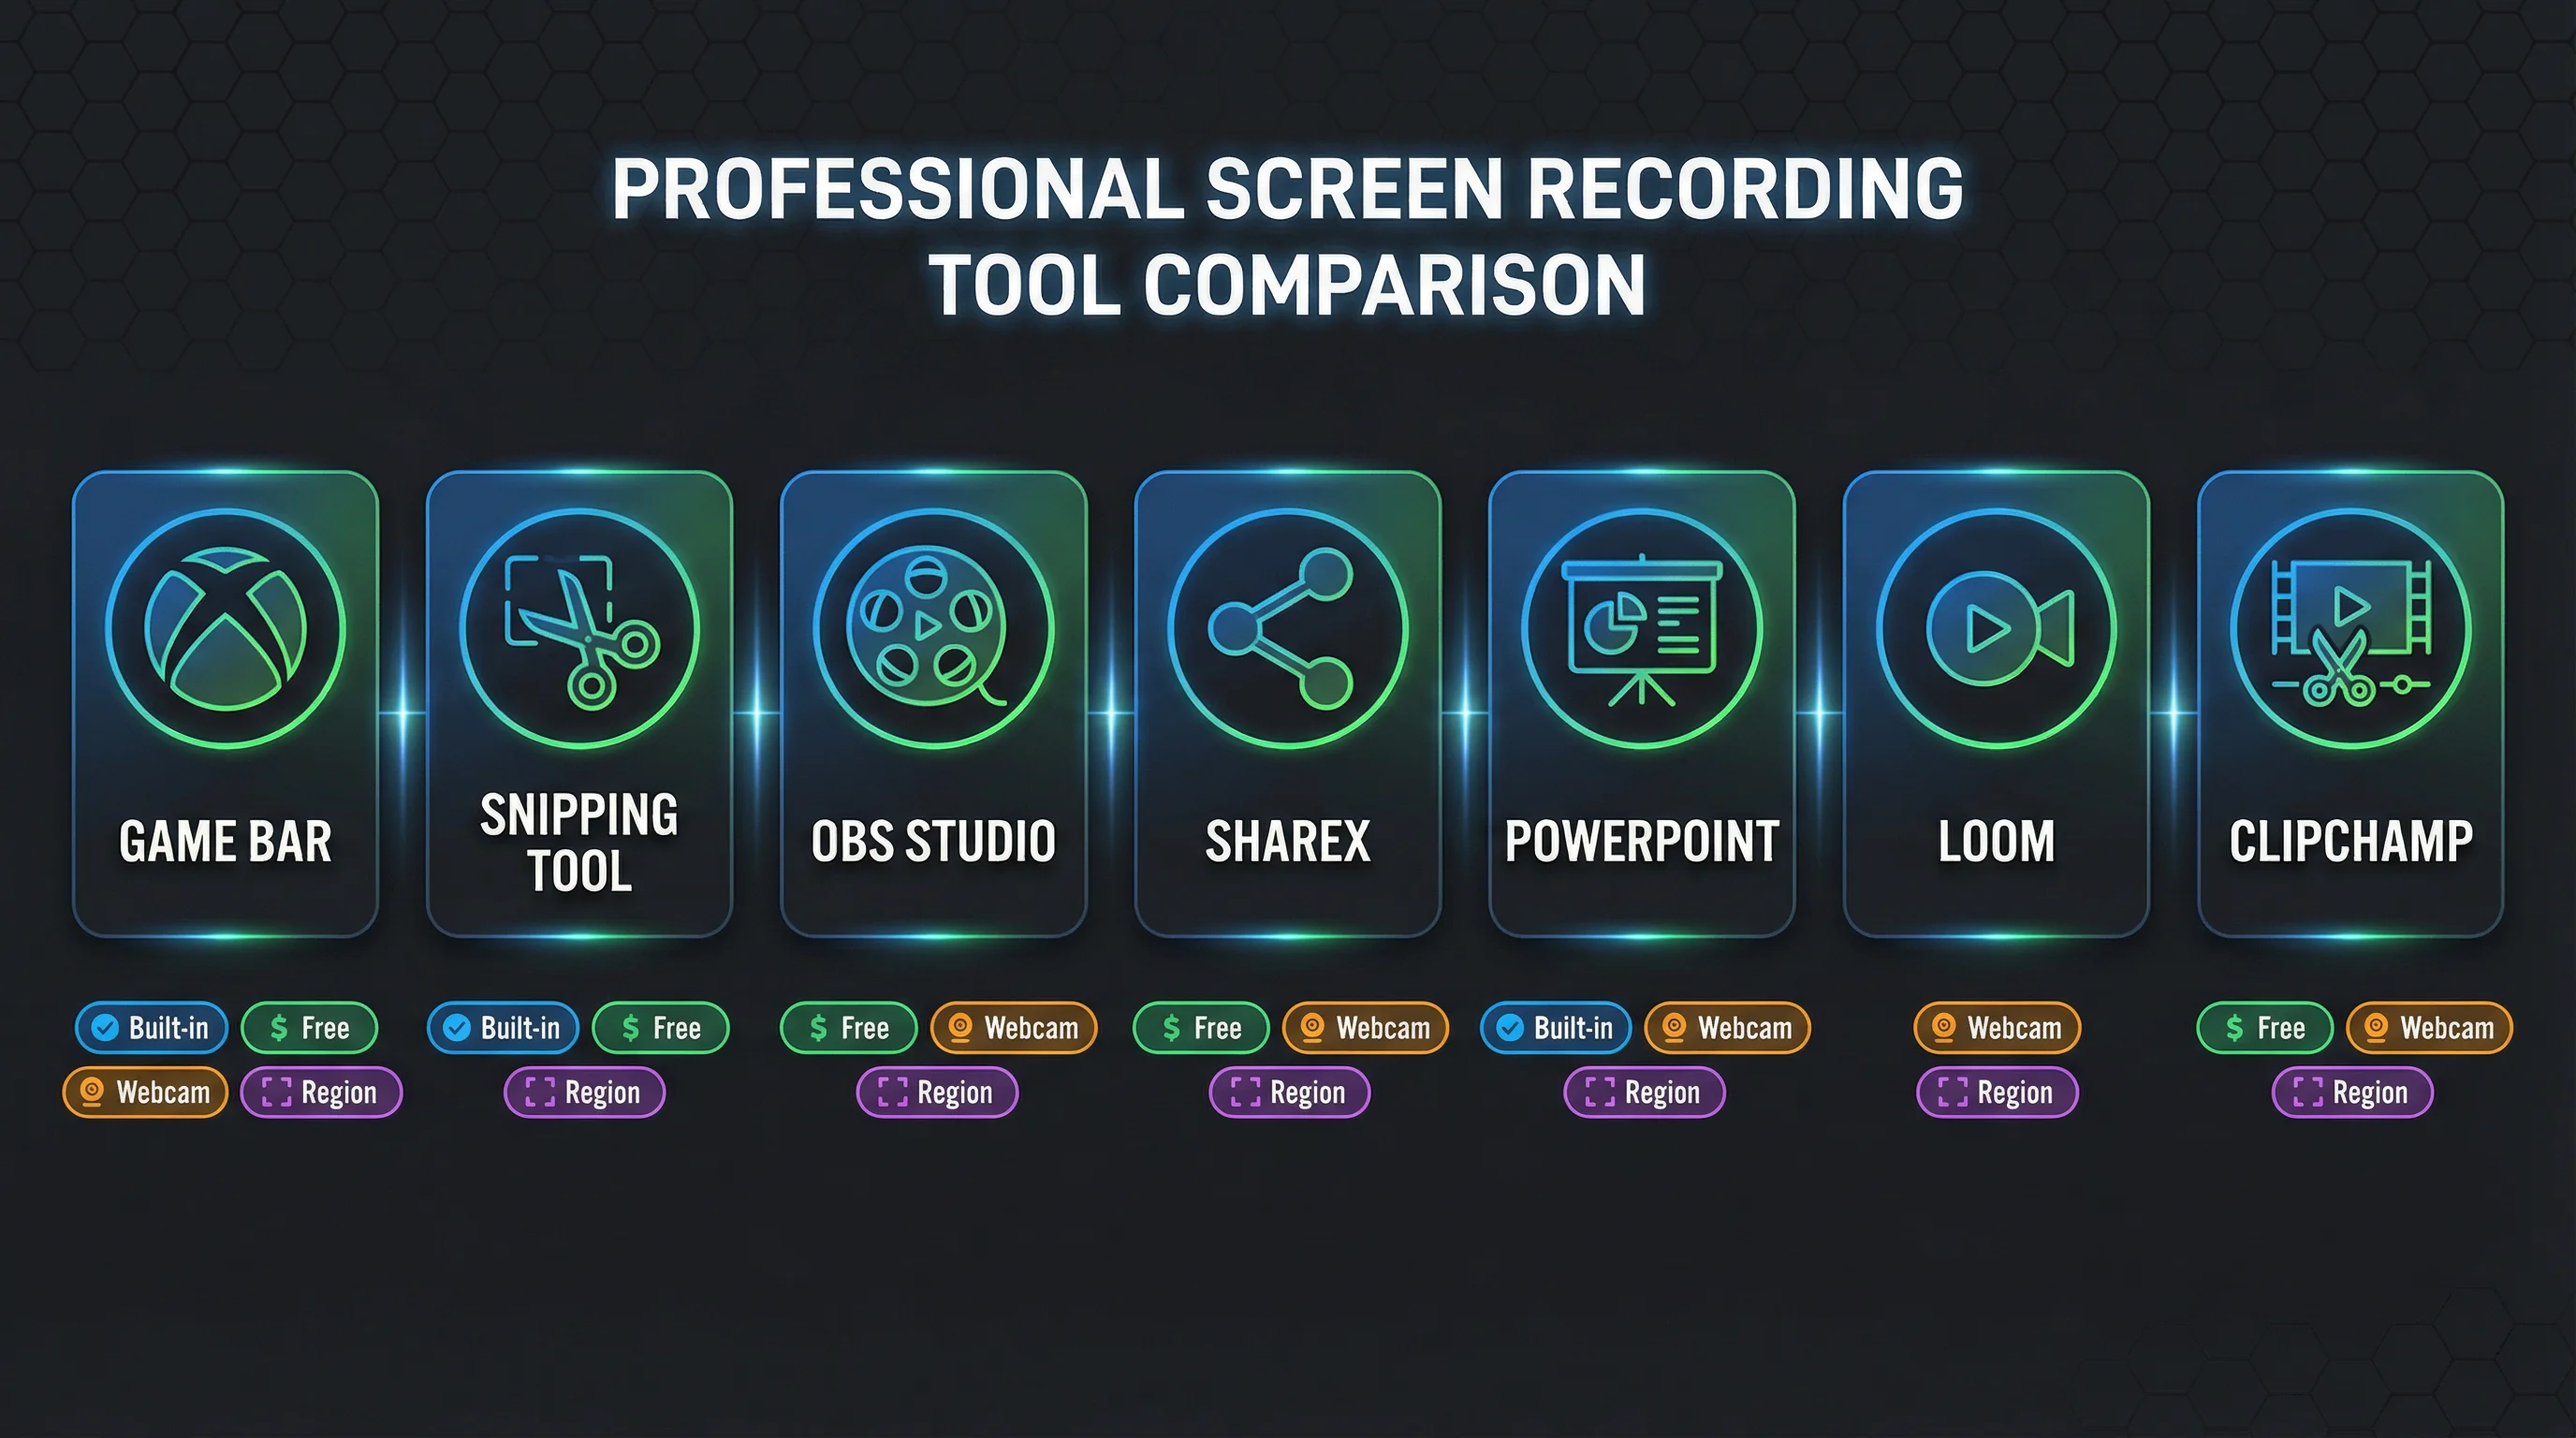
Comparison: Which Tool Should You Use?
| Tool | Best For | System Audio | Mic Audio | Webcam | Region Select | Price |
|---|---|---|---|---|---|---|
| Xbox Game Bar | Quick, zero-setup recording | Yes | Yes | No | No (full app) | Free (built-in) |
| Snipping Tool | Region capture (Win 11) | No | Yes | No | Yes | Free (built-in) |
| OBS Studio | Full production recording | Yes | Yes | Yes | Yes | Free |
| ShareX | Power users, GIF capture | Yes | Yes | No | Yes | Free |
| PowerPoint | Quick demos (Office users) | Yes | Yes | No | Yes | Free (with Office) |
| Loom | Async video messages | Yes | Yes | Yes | Tab only | Free (limited) |
| Clipchamp | Record + edit in one tool | Yes | Yes | Yes | Yes | Free |
Create Faceless Videos on Autopilot
FlowShorts generates and posts AI videos to YouTube, TikTok & Instagram while you sleep.
Try FlowShorts Free →Quick decision: Use Xbox Game Bar for instant recording. Use OBS if you need webcam, multiple sources, or professional quality. Use Snipping Tool (Win 11) to record a specific screen region. Use Clipchamp if you want to record and edit in one workflow.
Screen Recording Tips for Better Content
- Clean your desktop before recording. Close unnecessary apps, hide personal bookmarks, remove desktop clutter. Viewers notice messy desktops.
- Use a dedicated recording resolution. If creating content for YouTube, record at 1920×1080 (16:9) for long-form or 1080×1920 (9:16) for Shorts. Check our YouTube Shorts dimensions guide for exact specs.
- Record audio separately when possible. A dedicated audio recording (even just your phone's voice memo app) often sounds cleaner than the mic captured through screen recording software. Sync in post.
- Use keyboard shortcuts to start/stop. Clicking the record button creates awkward footage of you navigating to the stop button. Use hotkeys (Win+Alt+R for Game Bar, custom hotkeys in OBS) for clean starts and stops.
- Zoom in on important areas. If showing a specific button or text, zoom your screen or crop in post-production. Viewers on mobile can't read small UI elements.
- Record in short segments. Instead of one 30-minute continuous recording, record in 3-5 minute segments per section. Easier to edit, and if something goes wrong, you only lose one segment.
Using Screen Recordings for YouTube Content
Screen recordings are the foundation of several popular YouTube content types:
- Tutorial and how-to videos — Software walkthroughs, setup guides, troubleshooting
- Tech reviews and demos — Showing an app or tool in action
- Gaming content — Gameplay footage and commentary
- Educational content — Slides, diagrams, and whiteboard recordings
- Coding and development — Live coding, debugging, code reviews
For turning screen recordings into polished videos, see our 50 video editing tips. For generating titles and descriptions for your tutorial videos, use our YouTube Title Generator and Description Generator.
If you're creating faceless content that doesn't require screen recording — narrated content with AI visuals, motivation, history, science, or finance — tools like FlowShorts handle the entire video production pipeline automatically, from script to auto-posted video.
Frequently Asked Questions
How do I screen record on Windows for free?
Press Win + G to open Xbox Game Bar (built into Windows 10 and 11), then click Record or press Win + Alt + R. No download needed. For more features, install OBS Studio (free) or use ShareX (free).
Can I screen record with audio on Windows?
Yes. Xbox Game Bar records system audio by default. Toggle the microphone on in the Game Bar capture widget to add voiceover. OBS Studio records system audio, microphone audio, and webcam simultaneously with full control over each source.
What is the best free screen recorder for Windows?
OBS Studio is the most capable free screen recorder — unlimited recording length, multiple sources, webcam overlay, and professional output. For simpler needs, Xbox Game Bar (built-in) requires zero setup.
How do I record a specific area of my screen on Windows?
On Windows 11, use Snipping Tool — switch to video mode, click New, and draw a rectangle around the area. On Windows 10, use OBS Studio or ShareX, both of which support custom region capture.
How do I record my screen with a webcam overlay?
Use OBS Studio. Add a Display Capture source (for your screen) and a Video Capture Device source (for your webcam). Resize and position the webcam overlay wherever you want on the screen. Both record simultaneously.
What format should I save screen recordings in?
MP4 (H.264) is the most compatible format for uploading to YouTube, social media, and editing software. In OBS, record in MKV (crash-safe) then remux to MP4 via File > Remux Recordings. Xbox Game Bar and Snipping Tool save as MP4 by default.
Related Guides
- 50 Video Editing Tips for Beginners & Pros
- YouTube Shorts Dimensions & Specs Guide
- How to Start a YouTube Channel
- Best AI Video Generators of 2026
- YouTube Thumbnail Size Guide
Create Videos Without Screen Recording
For faceless short-form content, FlowShorts generates complete videos — AI scripts, images, voiceover, captions, music — and auto-posts to YouTube Shorts, TikTok, and Instagram Reels. No recording, no editing, no uploading.